The video shows how to troubleshoot a vacuum error. It details steps on cleaning, checking, adjusting and testing the component parts such as vacuum hose, drain valve, vacuum pump, and door gasket.
Troubleshooting a Vacuum Error on a Freeze Dryer
Tools Needed:
- Soapy water
- Clear water
- Phillips screwdriver
- Wrench (only if you have an older model)
- Blank thumb drive
Steps:
- Clean the Inside of the Freeze Dryer: Wash the internal compartments using soapy water including the shelf and ensure to rinse with clear water.
- Check the Drain Valve: Ensure the drain valve is closed when starting a new batch and if loose, tighten it with a screwdriver.
- Check the Vacuum Hose Connections: Ensure the hose is not damaged, securely hand-tighten the fittings, or use a wrench if required.
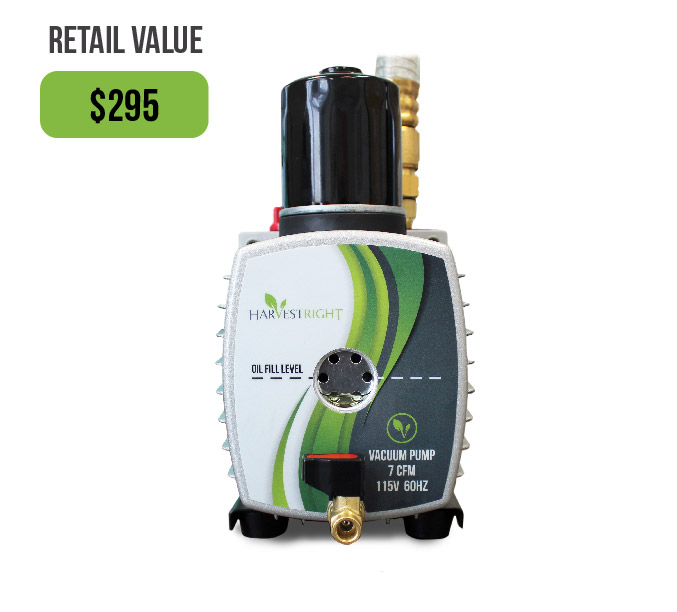
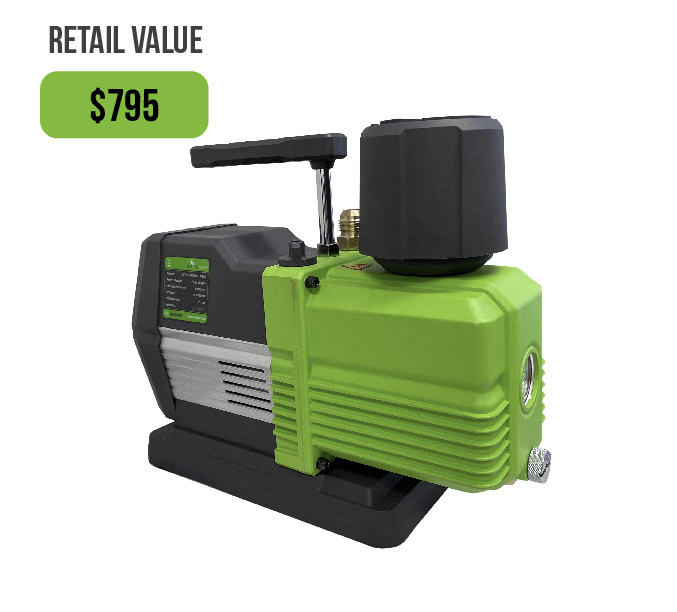
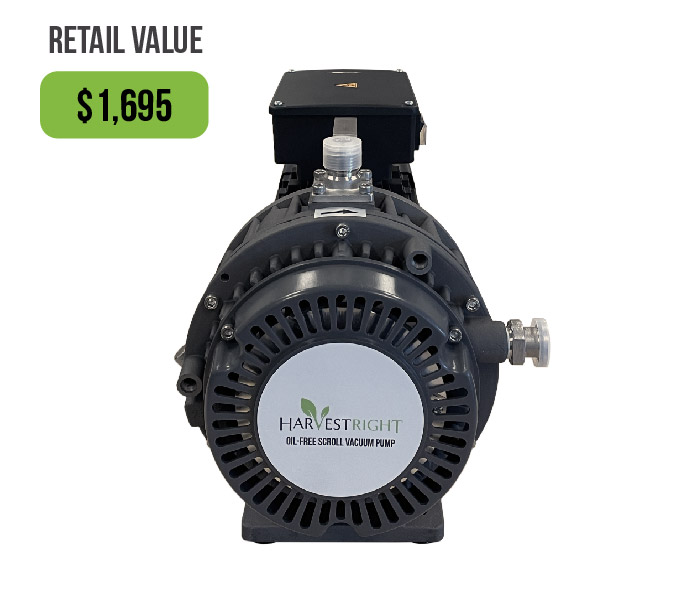
- Check the Vacuum Pump: This should be plugged into the back of the freeze dryer. If using an oil vacuum pump, drain and replace with new oil.
- Examine the Door Gasket: Check for cleanliness and damages, observe if there is a thin line around the gasket when the door is closed. Make adjustments if needed.
- Check the Door Position: The handle should be in a vertical position when the door is completely closed.
- Run a Dry Vacuum Test: Ensure the chamber and shelf unit are clean and dry and run the vacuum test.
- Check Drain Hose: Make sure it is sloping down.
- Check the Vacuum Hose: Remove, check the o-rings on both ends and if not damaged, replace the hose.
- Monitor the Test: Watch the pressure pulling down and note down the time taken to reach under 500.
- Capture Data: If the vacuum pressure did not reach 500 during the test, use a thumb drive to capture data from the freeze dryer’s USB port and send to a Harvest Right support technician.
The timing and temperature during each cycle will further help the technician diagnose the freeze dryer’s performance issues.


