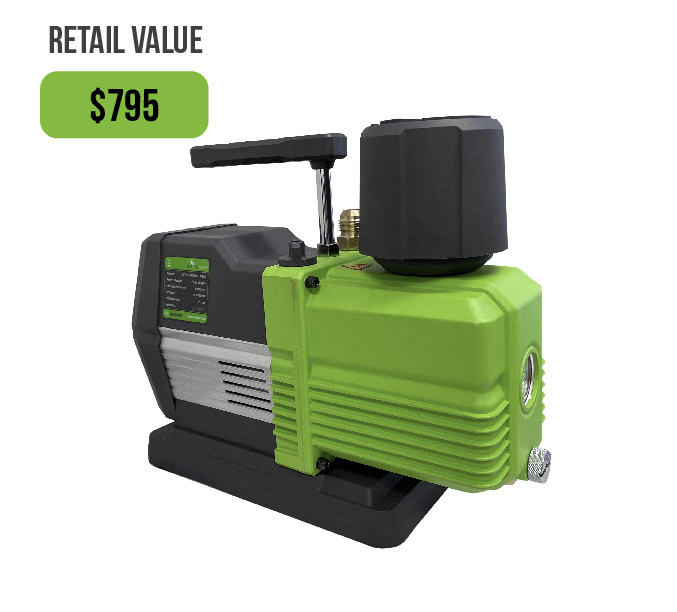
In this instructional video, you are guided through the process of removing the faceplate from a Premier oil pump, which may be necessary for maintenance or repair.
Tools needed:
- Allen wrench or hex drill bit
- Container for draining oil
- Paper towels
Steps
- Drain the oil: Start by draining the oil from the pump into a container. To speed up the draining process, remove the demister piece.
- Prepare the work area: Have plenty of paper towels on hand to manage any oil spills. Consider working outside if you're concerned about messes.
- Remove screws: Locate the screws on the faceplate. Use an Allen wrench or hex drill bit to remove them, turning counterclockwise to loosen.
- Detach the faceplate: Hold the pump firmly and carefully remove the faceplate, being mindful of any residual oil that may leak out.
- Handle gasket with care: Be cautious not to damage the gasket when removing the faceplate.
- Clean up any oil: Soak up the spilled oil with paper towels. Avoid touching any internal motor components.
- Reattach the faceplate: If necessary, realign the gasket and carefully place the faceplate back onto the pump. Secure it by reinserting and tightening the screws.
- Refill with oil: Once the faceplate is secured, refill the pump with oil to the indicated line.
- Reassemble and check: Place the demister back on the pump and ensure the gas ballast is open for the Premier oil pump to function correctly.


