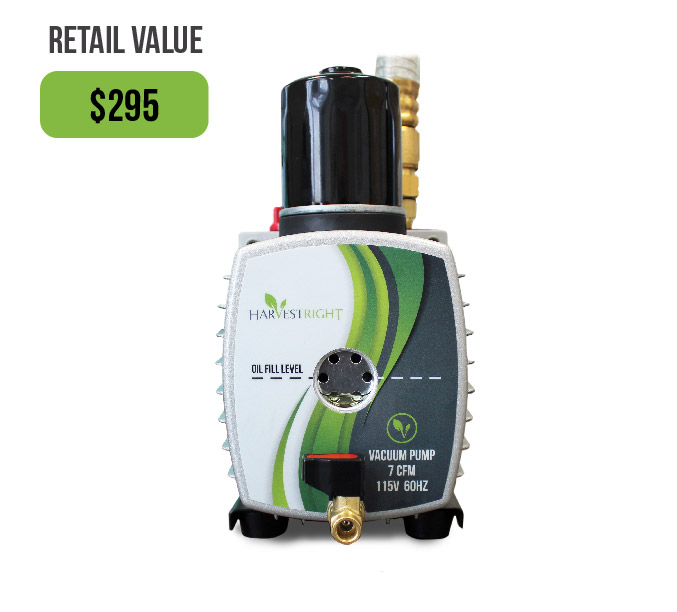
If your unit still cannot get a vacuum and it is determined by a Harvest Right Technician that the problem could be your Epoxy plug that the heater wires come through then watch the following videos to solve this problem:
Removing the Panels from your Freeze Dryer
Video Overview: How to Remove Panels from a Harvest Right Freeze Dryer
The video explains how to safely and effectively remove panels from a Harvest Right freeze dryer. The process requires minimal tools and can be done by following simple steps.
Tools Required:
- 1/8 inch Allen wrench
Steps:
Step 1: Disconnect Power Cord – Always start by removing the power cord from the machine to ensure safety.
Step 2: Remove the Top Panel – Grab the back of the top panel and gently pull it towards you to remove it.
Step 3: Remove Power Switch and Receptacle Panel – Using a 1/8 inch Allen wrench, unscrew and remove the panel that houses the power switch and receptacle.
Step 4: Remove Back Panel – Take out the back panel and set it aside inside the machine.
Step 5: Remove Right Side Panel – Unscrew the fasteners on the right side panel. Once loose, gently pull the panel towards you to remove it.
Important Note:
- Do not remove the two screws mentioned in the video that hold a specific panel in place. These are to be removed later, if necessary.
Conclusion:
Removing panels from your Harvest Right freeze dryer is straightforward if you follow these steps carefully. Make sure to use the correct tools and always prioritize safety by disconnecting the power before beginning.
How to Confirm and Fix an Epoxy Leak
Video Overview: Identifying and Repairing an Epoxy Leak in Harvest Right Freeze Dryer
In this tutorial, we will be discussing how to identify and repair an epoxy leak in a Harvest Right freeze dryer's vacuum feed-through. It's important to ensure the vacuum pump is functioning optimally before beginning this procedure.
Materials:
- Fresh Oil (for the vacuum pump)
- Carburetor Cleaner
- Masking Tape
- Paper Plate
- Plastic Utensils
- Two-part Epoxy (provided by Harvest Right)
Steps:
Preparation:
- Ensure Pump Efficiency: Make sure your pump has fresh oil and is working well to achieve a bottom-out vacuum.
- Remove Panels: Refer to the Harvest Right 'how to remove your panel's video' for guidance if needed.
- Reconnect Vacuum Hose: Attach the vacuum hose to the vacuum port after removing the panels.
Identifying the Leak:
- Prepare the Chamber: Remove the shelf, dry the chamber thoroughly, replace the door gasket, close the drain valve, and ensure the door is sealed.
- Access Factory Setup Screen: On the Harvest Right display, press the Customize button, then Adjust Cycle Times, followed by the invisible button in the upper left-hand corner, and finally, the Enable Slow Update button.
- Turn On Pump: Start the vacuum pump and wait for the pressure to stabilize at a three-digit number indicating a vacuum leak.
- Apply Carburetor Cleaner: Spray a small amount of cleaner on the epoxy. A pressure rise confirms a leak.
Repairing the Leak:
- Prepare Fitting: Roll back the foam insulation around the epoxy, and wrap a one-inch masking tape around the outer epoxy fitting to create a cup.
- Mix Epoxy: On a paper plate, mix the two-part epoxy until it becomes a uniform black color.
- Apply Epoxy: Pour the mixed epoxy into the tape cup, using a plastic utensil to stir it around the upper edge.
- Monitor Pressure Drop: As the epoxy is sucked into the leak, the pressure should start dropping, indicating the repair is working.
- Let it Cure: After the pressure stabilizes, shut off the pump and let the machine sit for a 24-hour period under vacuum without opening the door or drain valve.
Conclusion:
This procedure helps in identifying and repairing an epoxy leak in the vacuum feed-through of your Harvest Right freeze dryer. It's crucial to allow the epoxy to cure properly to ensure a successful repair. For further assistance, contact Harvest Right tech support.