The video shows you how to conduct a dry chamber vacuum test on their freeze dryer, specifically when there is suspicion of a vacuum leak. The process includes key steps such as cleaning the chamber and drainage, correctly positioning the gasket, examining the oil level, and timing the pressure drop during vacuum only mode.
Dry Chamber Vacuum Test
Tools Needed:
- Cloth for wiping
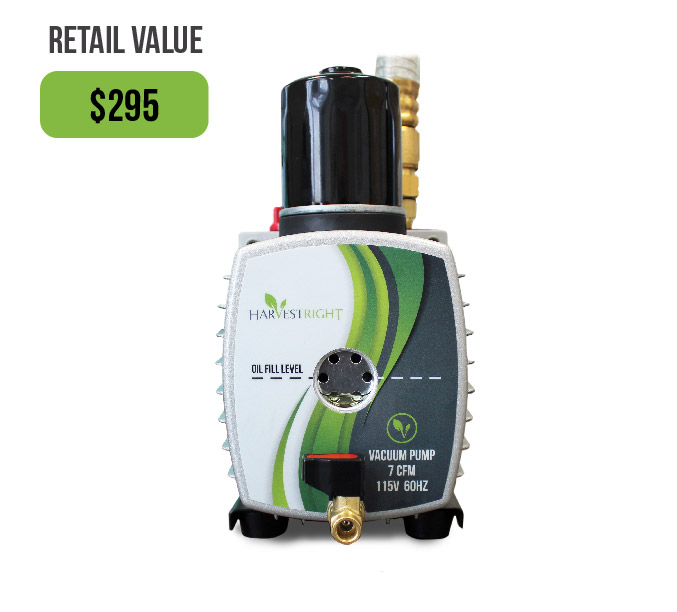
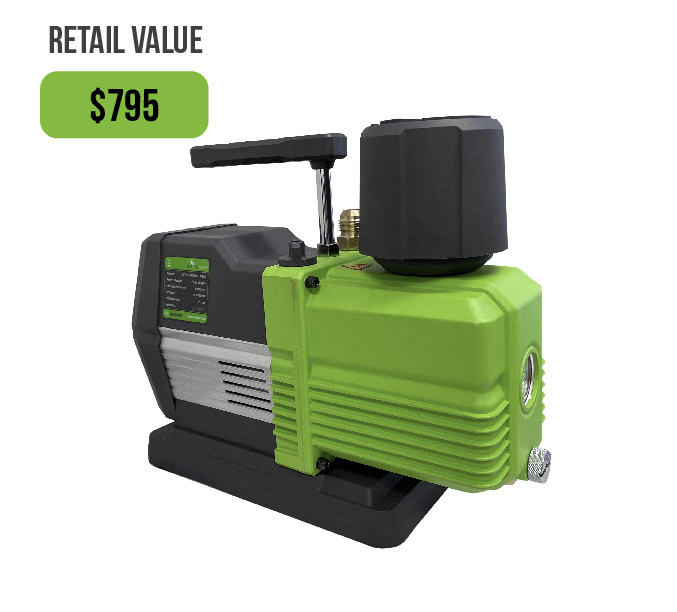
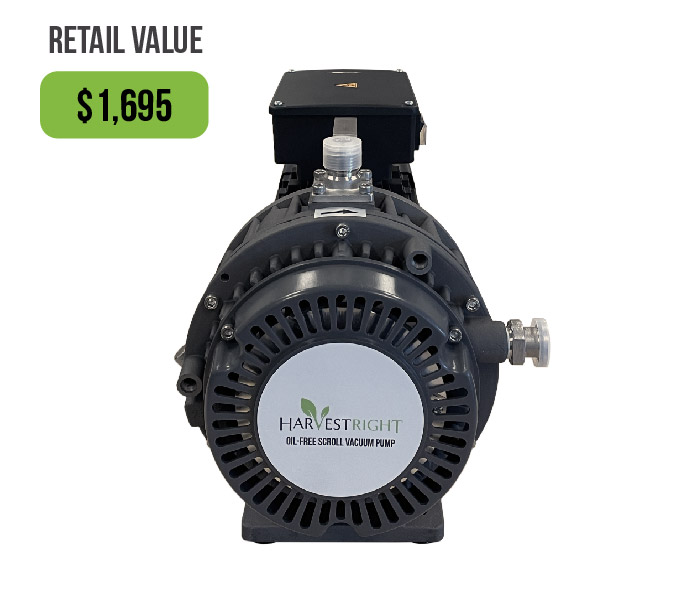
- Vacuum pump
Steps:
- Open the freeze dryer door and remove the shelf: This involves disconnecting the plug attached to the shelf and setting it aside for the time being.
- Clean any possible moisture: Use a cloth to wipe any leftover moisture inside the chamber. Any remaining moisture could interfere with test results and give inaccurate readings.
- Inspect the gasket: Ensure there are no large debris that could possibly sabotage a vacuum and then reattach it to the chamber.
- Secure the door: Close the door of the chamber firmly, ensuring it is latched properly.
- Check the oil level: Make sure the oil level of the vacuum pump is at least half or slightly more but not too full. This helps maintain a good oil level when the pump is operating.
- Begin the test: Navigate to the functional testing screen, notice the pressure level and turn on the vacuum only mode.
- Monitor the pressure level: Keep track of the pressure level. For a well-functioning chamber, the pressure should decrease to below 300 in less than 15 minutes. It can vary based on machine size and pump age.
- Interpret the results: If the pressure level has reached below 500 in less than the specified 15 minutes, it signals a tight vacuum seal.
If the pressure level does not drop as expected, reaching out to customer support for assistance is advised.


